How to Prepare Your Artwork for Print – Tips from InkHive Printers
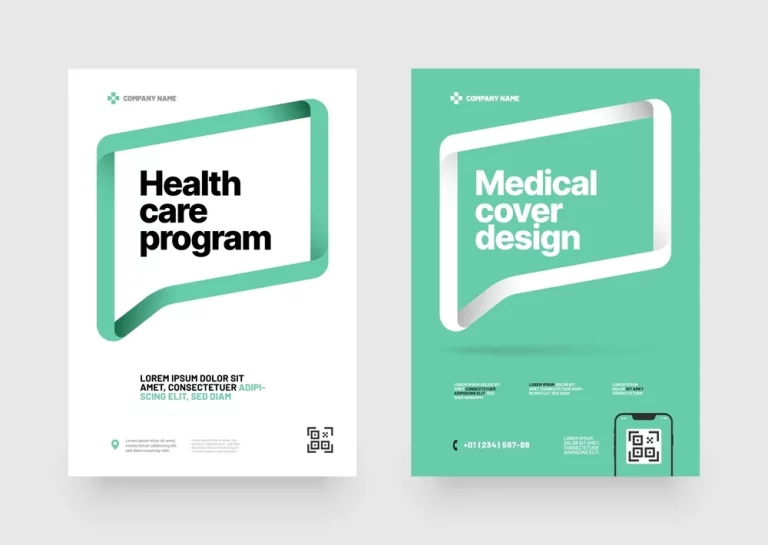
Preparing your artwork for print is a very important step when creating posters, business cards, or any other printed materials. If you want your print job to look perfect, you need to make sure your artwork is print-ready. In this article, we will share useful tips from Inkhive Printers to help you get your artwork ready for printing. Whether you’re a beginner or an expert, these tips will ensure your designs come out just the way you want them.
Why Preparing Artwork for Print is Important
When you print something, the way it looks on paper is sometimes different from how it looks on your computer screen. This is why it’s important to prepare your artwork correctly before sending it to print.
Here are some things that can go wrong if your artwork is not ready:
- Blurry images: Your design may look pixelated or unclear.
- Wrong colours: The colours on the print may not match what you see on the screen.
- Cut-off text: Important parts of your design might get cut off if they’re too close to the edge.
By following these tips, you can avoid such problems and make sure your artwork looks fantastic when printed.
1. Choose the Right File Format
One of the most important things to do when preparing your artwork for print is choosing the right file format. Some file formats work better for printing than others.
Recommended File Formats
Here are the best file formats to use for print:
- PDF: This is the most recommended format because it keeps all your design elements in place.
- JPEG: Great for images, but make sure it’s high resolution.
- TIFF: Perfect for high-quality images but creates large file sizes.
At Inkhive Printers, we recommend using PDF files for most printing projects. PDFs maintain the quality of your design, ensuring that everything looks just as you designed it.
Learn more about how print-ready files work by visiting this guide on choosing the right printer for your projects.
2. Use the Correct Resolution
Resolution refers to how clear and detailed your images and text will look when printed. A low resolution can make your print look blurry, while a high resolution keeps everything sharp.
What Resolution Should You Use?
For most printed materials, you should use a resolution of 300 DPI (dots per inch). This ensures that all the images and text in your artwork are crisp and clear.
| Resolution | Print Quality |
|---|---|
| 300 DPI | Sharp and clear |
| 72 DPI | Blurry and pixelated |
If you’re working on something like a poster or a banner, it’s especially important to use high resolution, as large prints need more detail to look good. For more information on getting your prints sharp, check out this helpful article from Inkhive Printers.
3. Set Up Bleed and Margins
When your design is printed and cut to size, some of the edges might be trimmed. To make sure none of the important parts of your design get cut off, you need to add a bleed and set your margins correctly.
What is Bleed?
Bleed is the extra space around the edges of your artwork that gets trimmed off after printing. It makes sure that your design goes all the way to the edge of the paper without leaving any white borders.
How Much Bleed Do You Need?
We recommend adding a 3mm bleed around the edges of your artwork. This gives enough room for trimming without affecting the main parts of your design.
Example: Margins and Bleed
| Part of the Design | Purpose |
|---|---|
| Bleed Area (3mm) | Prevents white edges after cutting |
| Safe Area | Keeps important text and images safe from cutting |
Make sure your text and important elements are inside the safe area, which is about 5mm from the edge of the page. For more details on setting up bleed, you can visit this article on banner printing.
4. Check Your Colour Mode
When designing for print, you need to use the right colour mode. There are two main colour modes: RGB and CMYK.
What’s the Difference Between RGB and CMYK?
- RGB (Red, Green, Blue): This is the colour mode used for screens, such as computers and phones. However, it’s not suitable for printing.
- CMYK (Cyan, Magenta, Yellow, Black): This is the colour mode used for printing. It helps your designs look their best on paper.
Make sure to convert your artwork to CMYK before printing. If you send a file in RGB, the colours may look different when printed.
For a deeper dive into the differences between print and digital colours, check out this helpful resource.
5. Proofread and Double-Check Your Design
Once your artwork is ready, it’s important to proofread and double-check everything before sending it to print.
What Should You Check?
- Spelling and Grammar: Make sure there are no spelling mistakes or typos.
- Alignment: Check that everything is lined up properly.
- Images: Ensure that all images are high resolution and in the correct place.
- Colours: Make sure you’re using the right colours (CMYK).
Double-checking your artwork helps avoid mistakes that can lead to expensive reprints.
For advice on how to design professional materials, check out these printing tips from Inkhive Printers here.
Bonus Tip: Work with a Local Printer
While preparing your artwork is important, working with a professional printer is just as essential. A local printer can help you make sure your designs come out perfectly. They offer expert advice, fast turnaround times, and personalised service.
Why Choose Inkhive Printers?
At Inkhive Printers, we make sure your artwork is ready for print and that the final result matches your expectations. Whether you need business cards, posters, or flyers, we provide high-quality printing services right here in Waltham Cross and Enfield.
You can read more about why working with local printers is a smart choice in this article.
Conclusion
Preparing your artwork for print doesn’t have to be difficult, but it does require attention to detail. By following these tips from Inkhive Printers, you can ensure that your designs are print-ready and will look fantastic on paper. Remember to use the right file format, check the resolution, set up bleed and margins, use CMYK colours, and always proofread your design.
If you’re ready to get started, contact Inkhive Printers for all your printing needs. We’re here to help you bring your artwork to life with high-quality printing services.
Key Points Summary (Table)
| Step | Why It’s Important |
|---|---|
| Choose the Right File Format | Keeps your design elements in place. |
| Use High Resolution | Ensures clear and sharp print quality. |
| Set Up Bleed and Margins | Prevents important parts from being cut off. |
| Check Your Colour Mode | Ensures colours look correct when printed. |
| Proofread Your Design | Helps avoid mistakes and reprints. |
With these simple tips, you can make sure your artwork is perfectly prepared for printing. For more printing advice, check out Inkhive Printers here.